
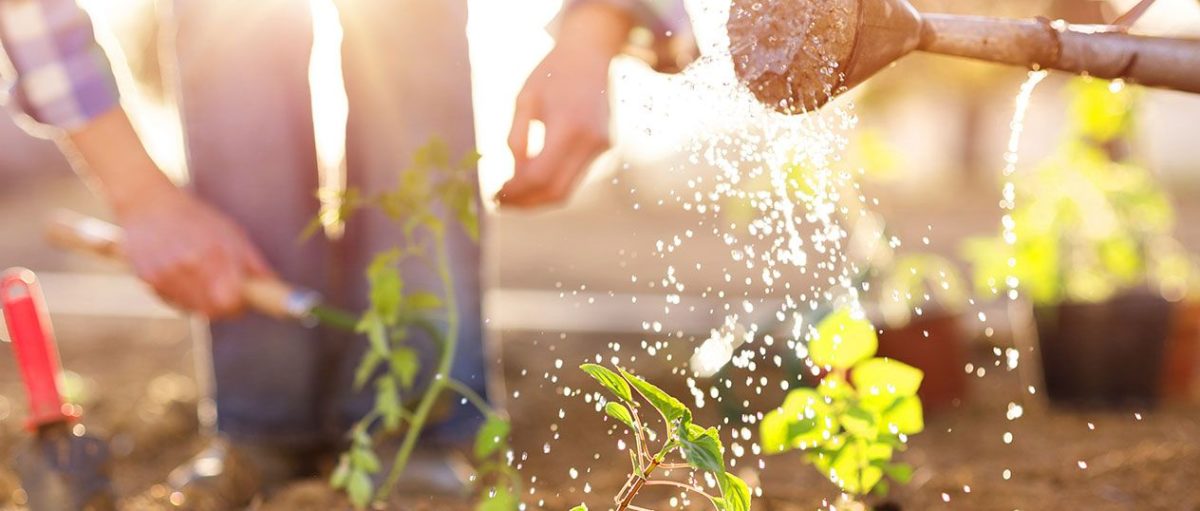
Do this crucial task and ensure your homegrown fruits and vegetables are safe to eat.
In our hurried, tight-budget, Western culture, it’s only consequential that we rely on fast-food chains and microwave dinners to fuel our on-the-go lifestyles. However, there’s been a recent surge toward healthy eating—a modern trend that is generating all sorts of buzzwords: organic, all-natural, non-GMO, paleo, and gluten-free to name a few. Take a stroll through your nearest grocery store and you’ll see that “All Natural Food” now has its own aisle. But not only are consumers seeking to buy better food, they’re growing it themselves. We’re witnessing an intercontinental shift toward urban and community gardening, where people are now growing their own food.
If you’re like so many others who have taken to the trend, we advise you to take action in one small way that has a big impact on the quality of your garden’s produce: Test your soil.
Why Should I Test My Soil?
A healthy garden starts with healthy soil. Most people think dirt is dirt and that growing a plant should be as simple as planting a seed. But it’s not that simple. Soil testing is as essential as water and sunlight to grow edible fruits and vegetables. In fact, failure to test your garden’s soil prior to planting can result in severe health issues in those who eat its produce—especially in urban areas. It is a little-known fact that soil is a vehicle for all sorts of contaminants—arsenic, cadmium, and lead being chief. Others include barium, cadmium, copper, mercury, and zinc. Traces of these elements can enter into your garden’s soil due to contact with fertilizers and pesticides, runoff from treated lumber and lead paint, accidental chemical spills, and more.
“Decision-makers, scientists, businesses, and individual citizens generally accept and understand that air and water pollution can have negative impacts on human health, but the impacts of such soil pollution on our health have had a much lower profile, and are not so well understood.” —European Commission
According to the Agency for Toxic Substances and Disease Registry, the aforementioned contaminants found in soil are known to affect digestive, nervous, and respiratory systems, cardiovascular and gastrointestinal health, and so much more. Not surprisingly, these contaminants are considered or reasonably anticipated to be carcinogens or cancer-causing substances. These elements can usually be found in the top layers of a garden’s soil, clinging to the leaves of plants, and in the dust and air particles surrounding the soil. Human exposure can occur through breathing, skin contact, and ingestion.
Who Will Test My Garden’s Soil?
First, you need to know your resources. Amateur soil-testing kits can be found at your local hardware store but, considering the high risk involved, you may want to consider professional testing. Professional soil testing is the best way to ensure that your soil’s contaminant levels are accurately measured. Soil testing labs can be found all over the country and a basic Google search can point you toward labs near you. The cost to test varies based on factors such as the size of the soil sample you provide or the depth of your request. (The simplest test will tell you if your soil is clay, loam, or sandy. More intricate tests will measure every characteristic, up to and including pH levels.)
How Do I Take a Proper Sample?
Many different methods will provide adequate soil samples fit for testing, but we recommend the following procedure
1. Plan ahead
Soil testing is not an overnight process. Test results may take 4–6 weeks from the day you send them to the lab to come back to you. It’s best to sample in the fall before the ground freezes (depending on your region). This step ensures that, if soil results come back negative, you will have plenty of time to research alternatives or consider relocating your garden before planting season begins in the spring.
2. Contact the lab
Once you select a lab to which you’ll send your sample, visit its website and/or call to fully understand its testing process. Some labs require you to print and fill out an information sheet to send with your sample so you’ll need to obtain that before you begin.
3. Gather sampling utensils
In order to take a sufficient sample, you’ll need some necessary tools. We recommend using a small, stainless steel trowel or scoop; a plastic utility bucket; a large, plastic, resealable sandwich bag; a permanent marker; and a large mailing envelope.
4. Label your bag before you fill it
Using your permanent marker, label the plastic bag with your name, street address, email, and phone number so the lab knows how to contact you with the results. Some labs may request that you label your sample bag with a unique description, like “Vegetable Garden.” This helps you better identify the precise location of each sample if you plan to send samples from other areas of your land.
5. Dig and mix
Retrieve samples that are evenly-spaced throughout your garden. You don’t need more than 10 soil samples, however, the more samples you extract, the more accurate your results will be. Using your trowel, dig to roughly five inches deep—the primary zone for root growth. Extract about a handful of soil from each site, combine them all in your bucket, and mix the soil thoroughly.
6. Assemble and mail
Measure 1–3 cups of the soil mixture and place it in the plastic bag. Make sure you fill out the information sheet that will accompany your sample, if applicable. Print the testing lab’s address on the mailing envelope and mail it promptly.
How Do I Interpret the Results?
Trace elements in soil results are often measured in ppm (parts per million). It can be tricky determining whether the levels in your soil are acceptable or dangerous because such information is interpreted differently across persons. We recommend contacting the testing lab for help interpreting your results and determining whether your soil is safe for growing food.
Food for Thought
When it comes time to harvest, be sure to thoroughly wash your crops. This practice will ensure that your produce is clean and safe for eating. Try washing your fruits and vegetables with water and baking soda to safely lift and remove dirt, dust, and other impurities. Soil testing is essential to a safe and healthy garden. While some gardeners may find this process intimidating, the worst mistake you could make is to not soil test at all.


